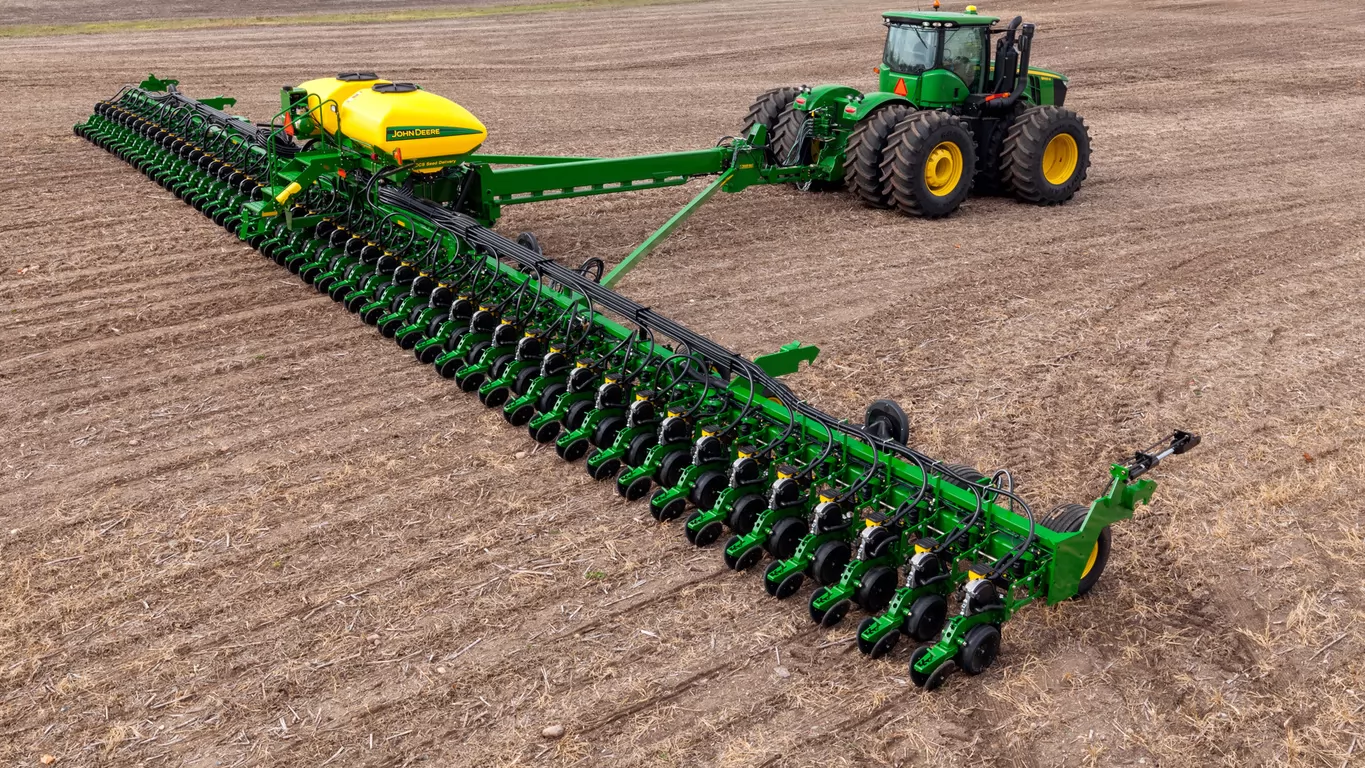
It is time for planting. For the best growing season, keep in mind the following tips when you remove the seeder from the warehouse:
1, Before connecting with the tractor, clean the hydraulic hose couplers.
2, Before moving the seeder, ensure that the tires are filled with air.
3, Remove the protective grease and clean the exposed cylinder rod.
4, During reinstallation, ensure that the seed discs are set on the matching spots.
5, Check the entire seeder for any other signs of damage.
6, Check the hydraulic hose and wiring harness as properly routed, and tie the belt if needed.
7, If necessary, replace the hydraulic filter.
8, Reinstall the drive chains.
9, Lubricate all grease accessories. Be careful not to over-lubricate the parts that you have lubricated previously.
10, Cover the bottom of the hopper with powdered graphite.
11, Cover the seed discs with graphite.
12, Cover the singulator spool pins with powdered graphite.
13, Clean the seed tubes and seed sensors.
14, Read the seeder and display operation manual.
Click here for more Seeder Parts and Accessories.
